To create this kind of a repeat (half drop repeat) I selected the secound column and went on View > Show > Grid, then to View > Snap to > Grid and draged the column down half a block.
I re-sized my marquie tool to 5cm-5cm that I can select one block. Then I copied and pasted it into a single gasp. After I did it to the forth column as well I went to Layer > Flatten image.
photoshop
Saturday, 15 December 2012
mirror repeat
mirror repeat
double mirror repeat/pencil draw
double mirror repeat/pencil draw
First I selected the marquie tool from the tool box and in the specification panel net to the style I selected fixed size and entered 5cmfor the weight and 25cm for the height. Then I went on View > Snap to Grid and selected the second column, because of the grid it is easier to select the a column.
to make it into a mirror repeat I went on Eidt > Transform > flip horizontal. The same I did to the forth column.
to make it into a mirror repeat I went on Eidt > Transform > flip horizontal. The same I did to the forth column.
After I saved this one I did another one but aslo did the secound and forth vertically. Which gave me another interesting pattern.
block repeat
Using a rose that I made on photoshop and copied it onto another document. I changed the image to 5cm-5cm and checked that the resulution is 150dpi. I went on Image> Canvas size 20cm-25cm.
After that I went on Edit > Fill with pattern >Design then it showed up as a block repeat.
I went on filter and changed the texure of the of my block repeat and then I went on heu/saturation to chage the colour.
motif
Going on filter to change the texture of the background to a soft grain. To smoothen the edges of the tornado I used a normal ereaser.
filter crop
I screanshot the areas from the filter image that I liked the most and tranfered it onto my blogger.
filters
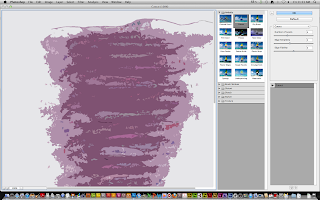
 In photoshop I went on filter and tried out different textures. To go to filter I went on menu - artstist. In artstic there area lot of different textures that I could use to manipulate my pictures.
In filters I used the dry brush effect get this texture on this pictur of mine.
With this picture I tried out different textures for a different part for eample:-
- for the rose I used diffuge glow
- for the sea I used plastic wrap
- and for the background I used soft grain
Friday, 16 November 2012
original scan
To scan my work into the computer I went on image capture. I set the resolution to 150 dpi because I didn't wanted my work to become to big. Also so that I can experiment with my work at a normal pace which I woulded be able to do properly with a bigger resolution than 150 dpi, because a higher resolution than 150 dpi will only make working slower and take longer.
Subscribe to:
Comments (Atom)

.png)


